Ok, I know this has nothing to do with plant-based eating, but I just had to post this fun tutorial. When my husband and I started researching how to attach a wood mantle onto a stone fireplace we had a hard time finding a tutorial that would work for us (considering the lack of tools we own and such), and therefore I decided right then and there that I needed to type up whatever we ended up pulling together. No, we aren’t pros, we are just your average joe couple who are trying to fix up our house on a tight budget.. but this worked great for us, and maybe it will for you too!
I have wanted a mantle to hang our stockings on ever since we got married. I was so excited when we moved into this house because I finally had a fireplace! Only problem was that it didn’t have a mantle! So lame! Seriously?! So that immediately went on my house wish list and we put it in the house reno budget for it to get done before Christmas came. Well, we finally got to doing it this last weekend and I am SOOO happy with the result! It turned out exactly like I was imagining!
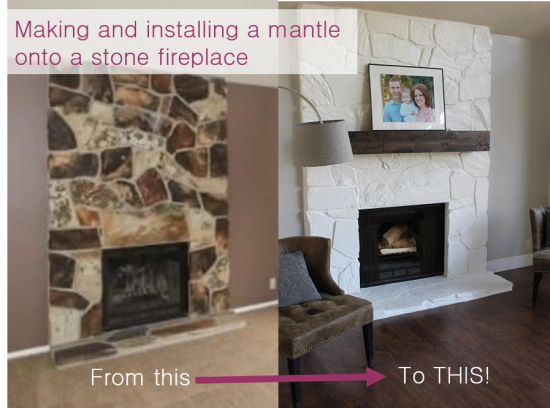
We have done so many fun things to this house and it has really transformed over the last few months. Our kitchen/family room area is almost done, we just need a few more finishing touches (such as a few light fixtures, drawer handles, a glass door on one of our cabinets, etc..) and then I’ll post the pictures of the whole thing. But just to give you an idea of what the front room and the fireplace in particular looked like before, here is a fun picture.
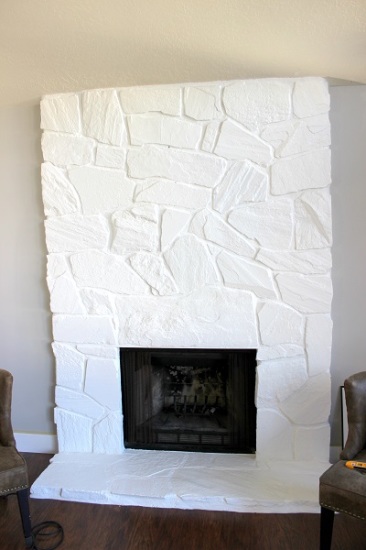
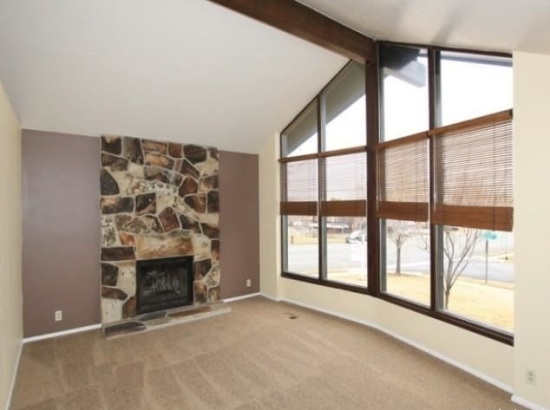 One of the first things we did after moving in was painting this fireplace. I was sooo torn on what to do with the fireplace. I was nervous to paint it because I knew that once you do that you can’t really go back. I was worried that when we go to sell our house that that might deter people, but then I finally came to the realization that anywone who would like the style and what we had done to the house would probably like the painted fireplace more than that brown/orange stone. So we went for it! Man, that made SUCH a difference in that room!
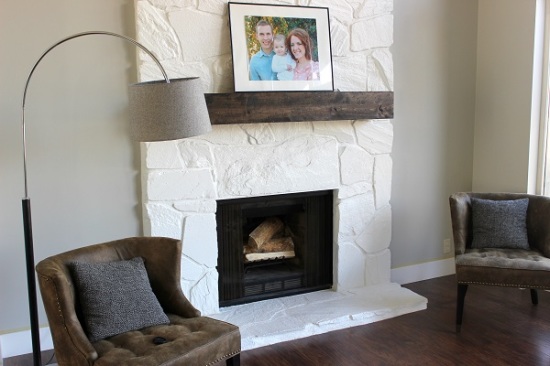
It looked fabulous, however it was obviously missing something – a mantle! So here are our pictures and the breakdown of what we did to make and install our mantle. We used the tutorial on Addicted2Decorating.com for a lot of it (like making the actual box for the mantle mainly), but we did some things differently. Here is the link for her tutorial. http://www.addicted2decorating.com/diy-rough-hewn-wood-fireplace-mantel.html. We also don’t own all the tools that she does so it cost just a little bit more. We used finishing nails and a hammer to make the box, we also rented a hammer drill and the drill bit (for $20) from Home Depot to drill into the mortar on our fireplace. When going to buy your materials here is something to consider: Make sure the wood isn’t bowed..lol ours was a little bit so after making the mantle box we did some extra sanding to fix the bowing.
Our mantle is 5′ x 8″ x 8″. It cost us about $55, including tool rental.
Here is our material list:
one – 2×4 – 4.5 feet long
three – 2×4 – 5 inches long
three – 1×8 – 5 feet long
wood glue
long finishing nails
hammer or nail gun
hammer drill (we rented one for our project)
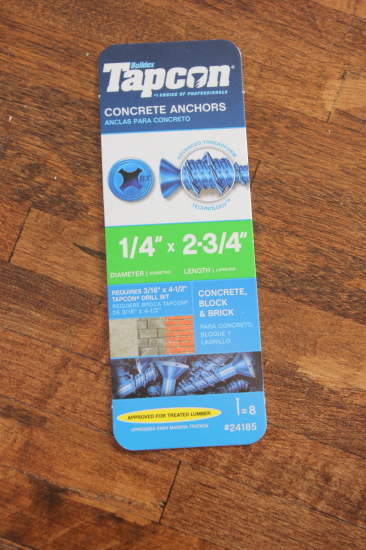
8 masonry screws
wood stain (we used Minwax Jacobean)
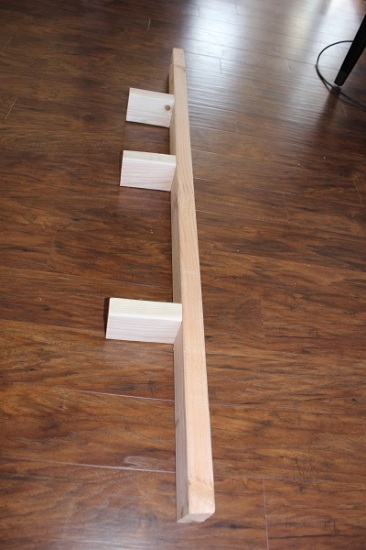
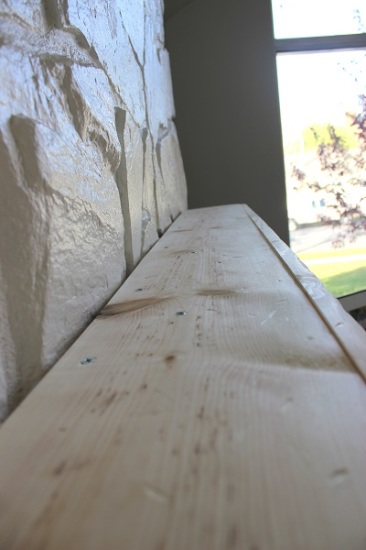
We had home depot cut all the wood for us since we don’t own a table saw yet. The first thing we did was to make and attach our 2×4 stabilizing piece to the wall. We only had 4 hours to have the tool so we were anxious to get that part completed and return the tool. We first held up the 4.5 foot long 2×4 against the fireplace and drew a line with a pencil of where we wanted it to go. It’s important to remember that the top of the mantle will be resting on top of your 2×4 and will be hanging down about another 5 inches. Don’t forget to use a leveler and get it nice and level. Next I marked on my 2×4 the places we were going to be drilling into the mortar. I wanted to make sure that our little 5′ support pieces weren’t going to be in the way of where we wanted to drill it into the fireplace. Then we pre-drilled the holed for the screws to attach our 5″ support pieces and screwed in the screws (from the back of the 2×4’s). This is what it looked like when we were done
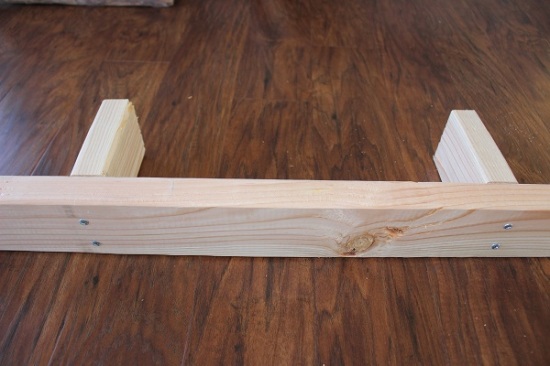
And from the back:
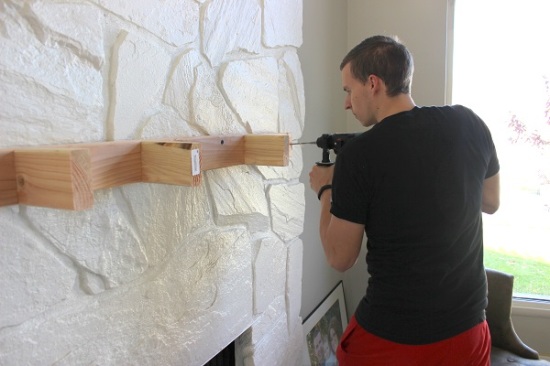
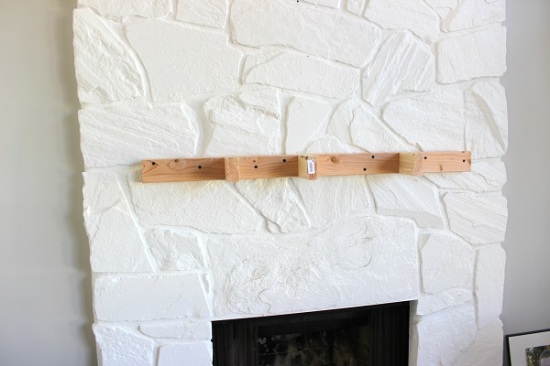
It was then time to attach it to the fireplace. We had rented a hammer drill and the drill bit from home depot. This was $50 up front, but then they returned $27 back onto our card when we returned it. Since we had already marked the top of where the 2×4 was going as well as the sides we just hung it back up there. We had also pre-marked the places we wanted to drill it in at (in 8 places.. we had 8 screws so we figured why not use them all), so it was pretty easy. I held it up while my hubby drilled and then screwed in all the screws.
Here is a picture of the screws we used. They worked fine, I think that if we were to ever do it again we would get longer screws though. We forgot to account for the gap between the wood and the mortar that the uneven stone created, so although it went into the mortar just fine, I think for extra security I would get longer screws next time. Another thing to consider is where your flew is. Because our screws weren’t too super long and the placement of our flew was pretty far back I wasn’t worried about ours. Just remember to keep that in mind when you’re doing yours.
We returned the hammer drill and then got to work on creating our box. Like I mentioned before, we used the tutorial from Addicted2decorating.com to make the mantle box. I even did the beating up of the wood to add some character (which I love by the way!). I used a wrench, sledge hammer and a normal hammer to do that. We used liquid nails to glue our box together and then just used finishing nails to hold it all together. We didn’t have the clamps (and they’re pretty expensive and we were trying to stay within our budget we had previously set). I actually like the finishing nails in the mantle. You can’t really see them, but when you do, I personally think it adds to the rustic character of it all. In this next picture you can see the “hammered” look I did with the tools:
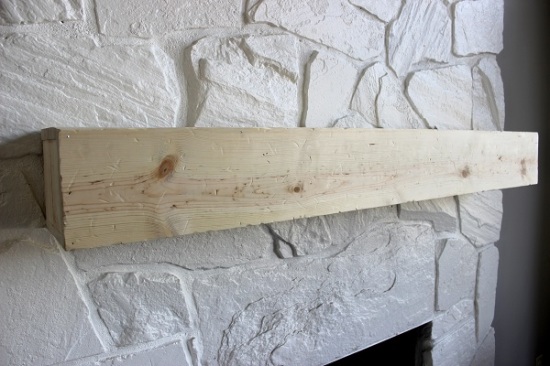
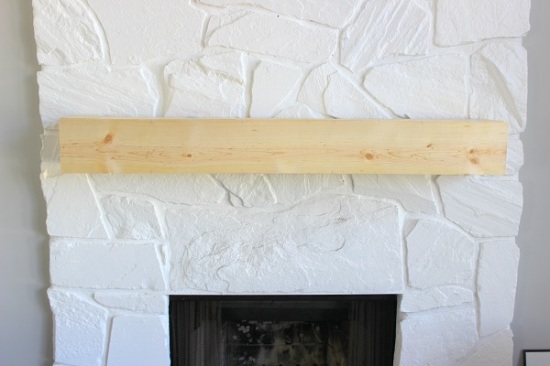
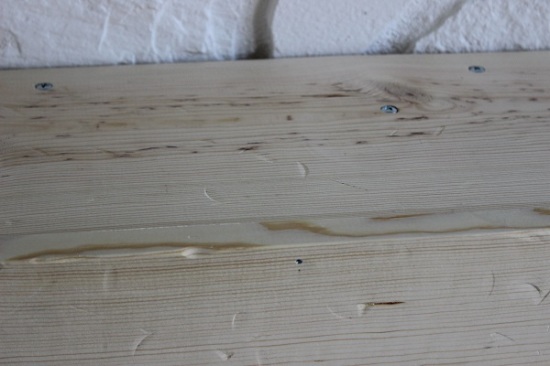
Next, I held it up there while my husband screw it in in various places. We screwed it in(after pre-drilling so as to not split the wood) in the back where the 4.5 foot 2×4 was running along the inside, and then pre-drilled and screwed the screws in in the places where the 5 inch 2×4 supports were located ( I used a pencil and marked where they were on our stone fireplace and then eyeballed their location according to those marks and we pre-drilled and screwed the screws into place.
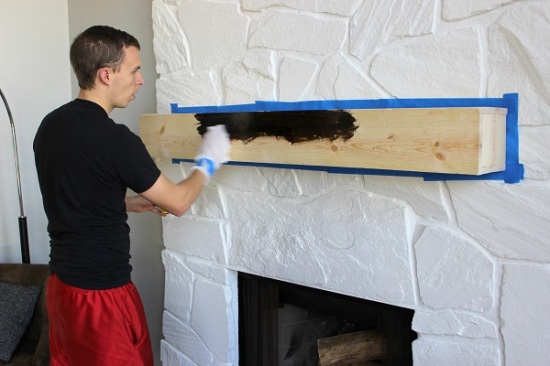
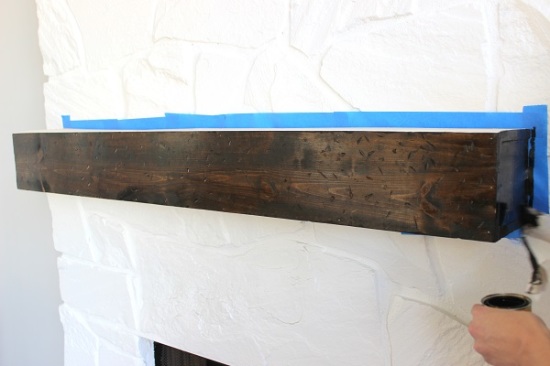
That’s it for assembly! The last thing we had to do was tape along the fireplace and then stain our new mantle!
This is one of those project that we were DREADING because until we did it, we weren’t quite sure how we were going to do it. Now, after finishing it both my husband and I are so glad we did it AND we both feel it wasn’t that bad! I’m extremely happy with the result and I CAN NOT WAIT to hang our stockings!
Christy Crisler says:
Thank you! This is great and so helpful.