Is there anything better than warm, fresh baked bread? Seriously though, I love bread. Especially artisan bread. There is just something about that combo of the crunchy crust on the outside mixed with the soft bread inside that just makes me smile. It does take a little time to make, but it’s mostly just time that you have to be around while it rises and while it bakes and such. Over-all this is probably one of the easiest bread recipes out there.
If you have a mixer like a Bosch or a KitchenAid then it’s even easier. Here are a few pictures to help with the process:
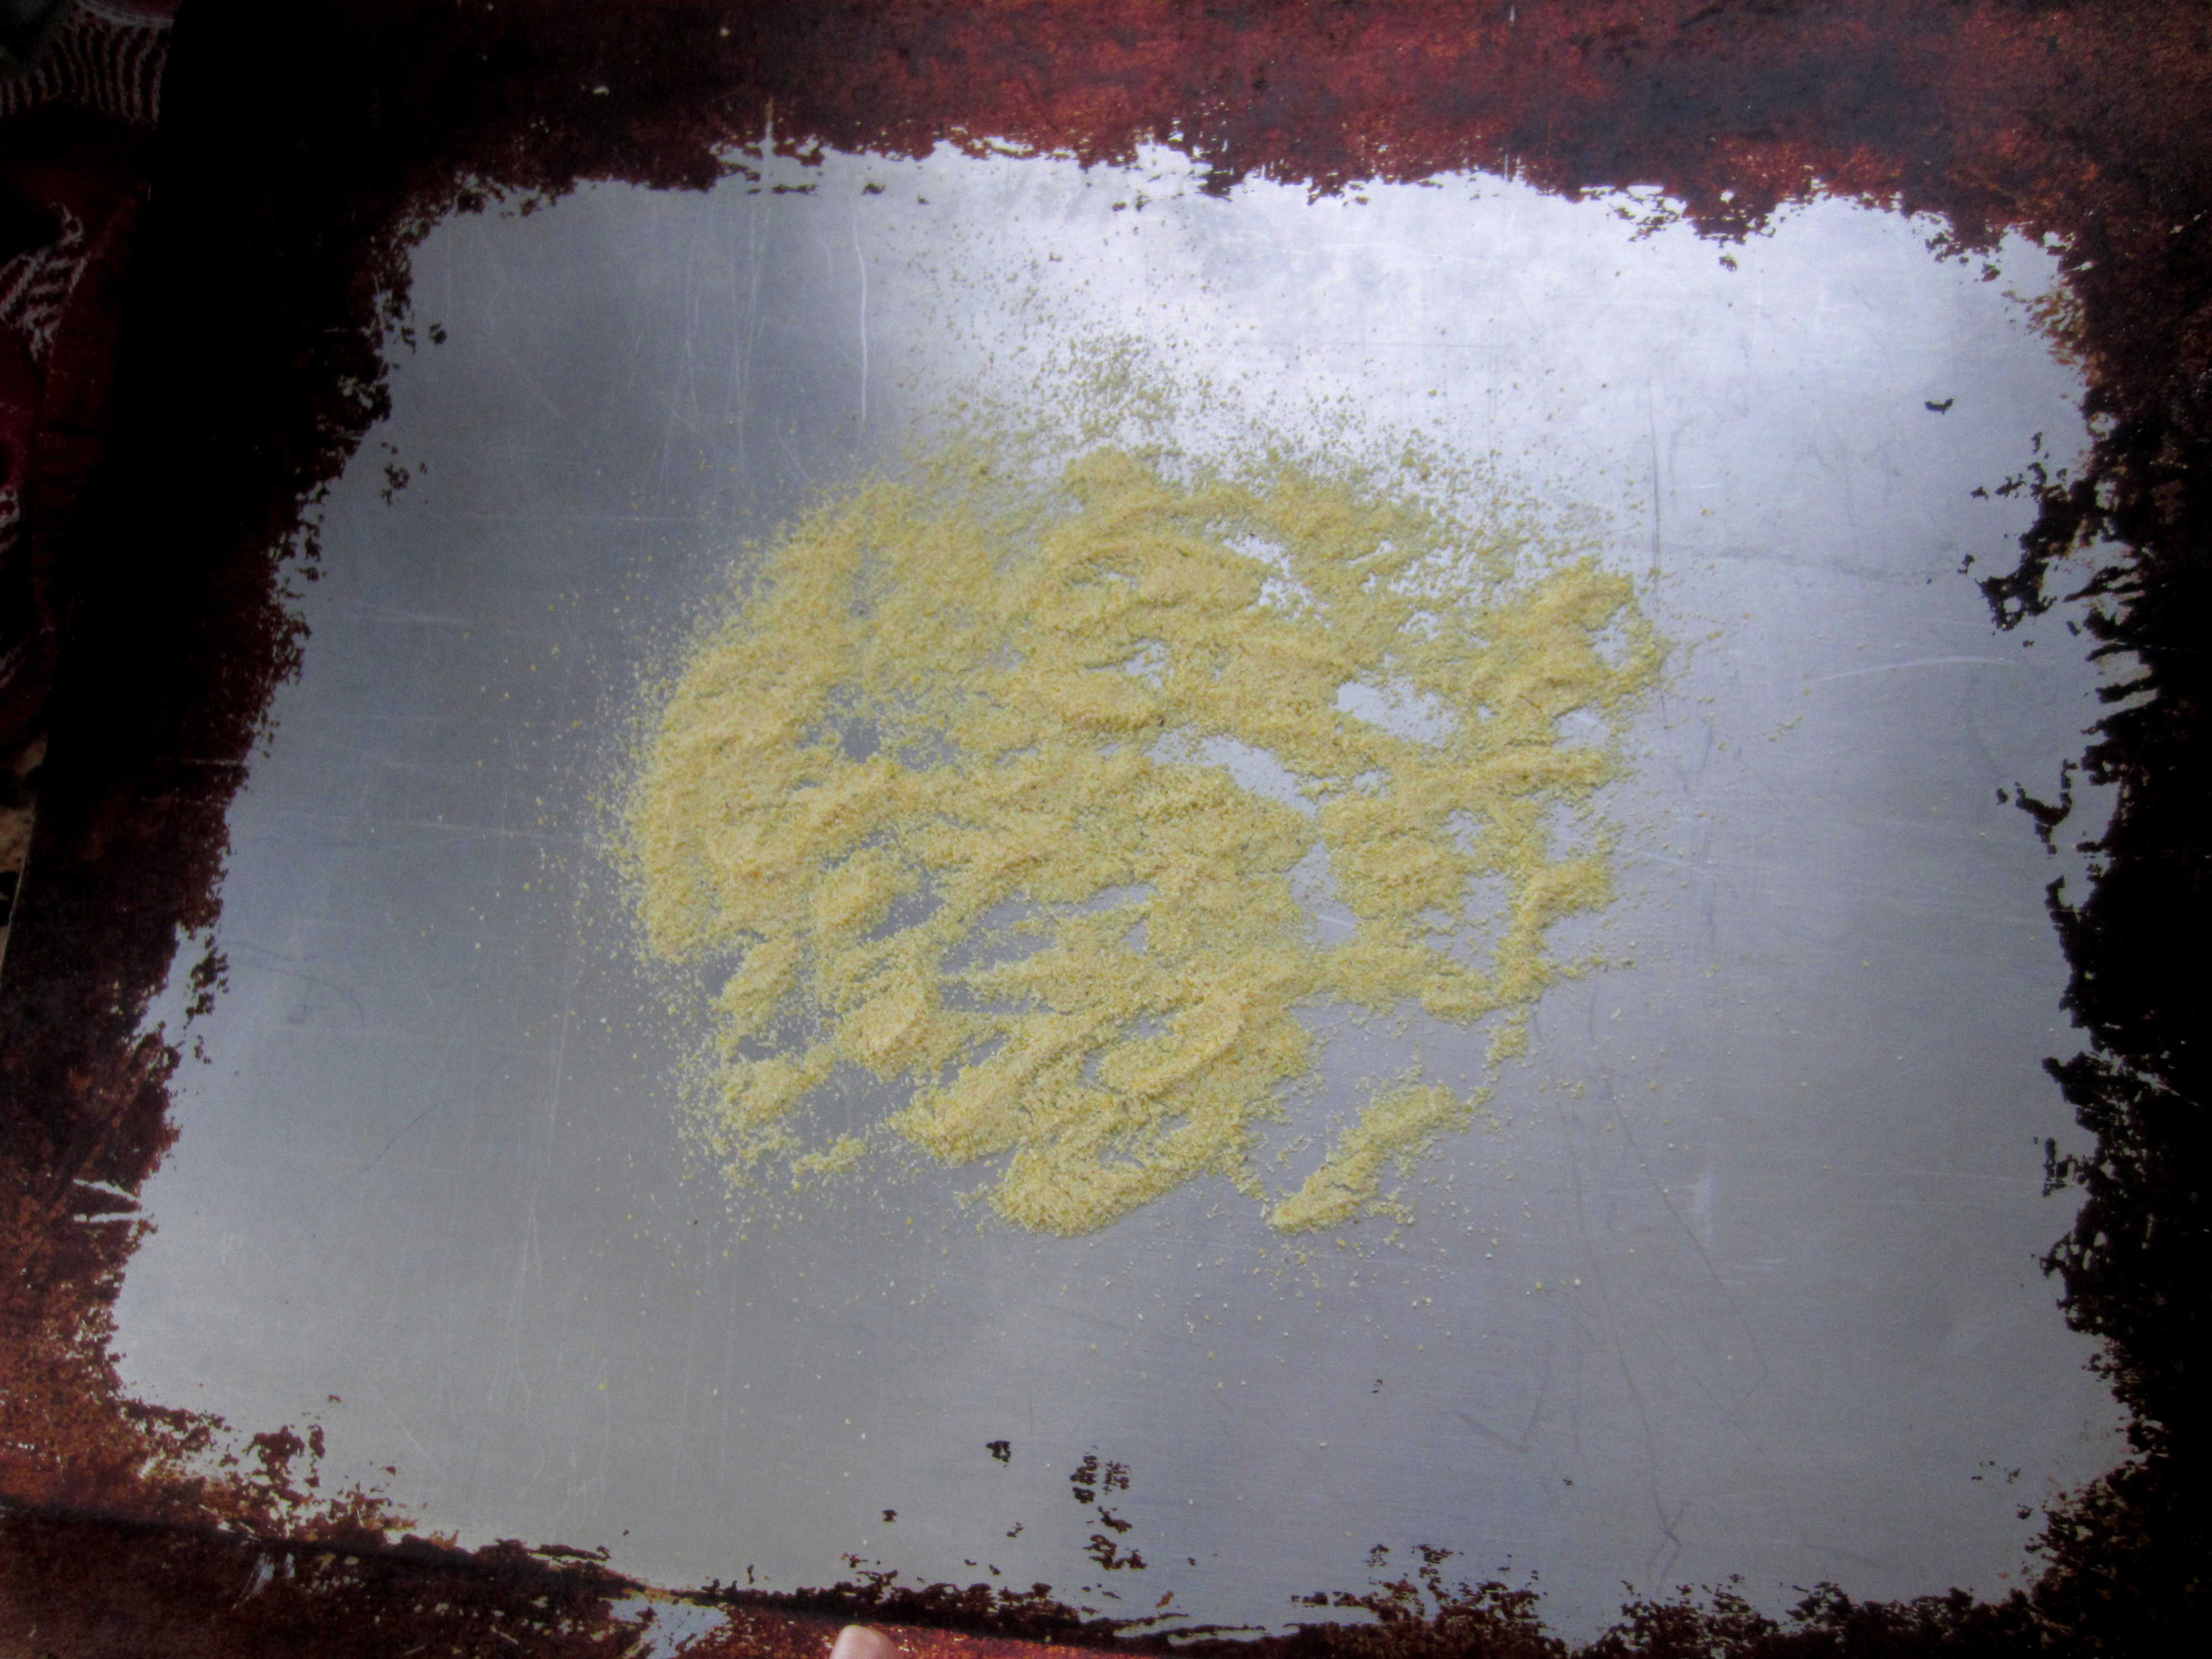
Don’t forget to spread out some corn meal onto a side-less pan for you to transfer your bread over to the heated stone when it’s risen.
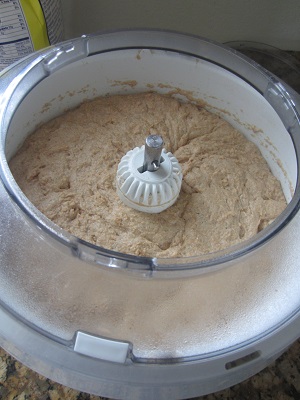
This is what my dough looked like after it sat for the 2 hours.
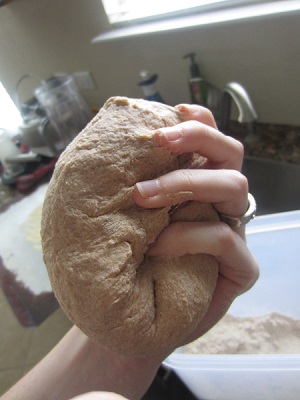
Here is a picture of what I did when I cut out some of the batter to make a loaf. I poured a little flour in the spots then used a knife to cut into the dough.

I tried to get a picture of what the underside of the dough looked like once I got it formed into ball-shape. The underside will flatten out and the little creases won’t matter.
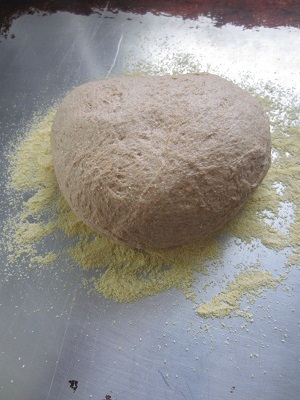
This is what it looked like set on top of the cornmeal ready to rise.
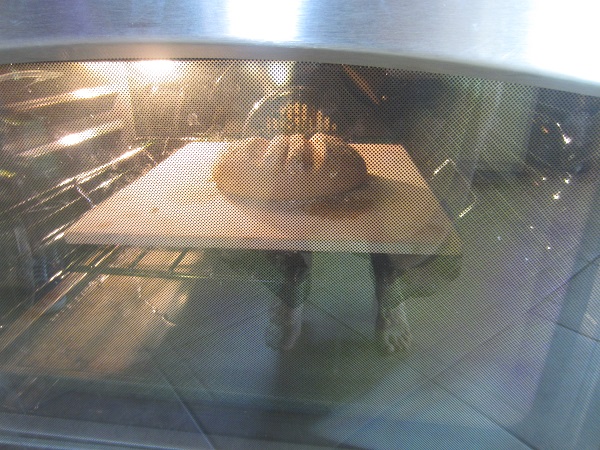
This is a pic of it in the oven with the pan of water underneath.
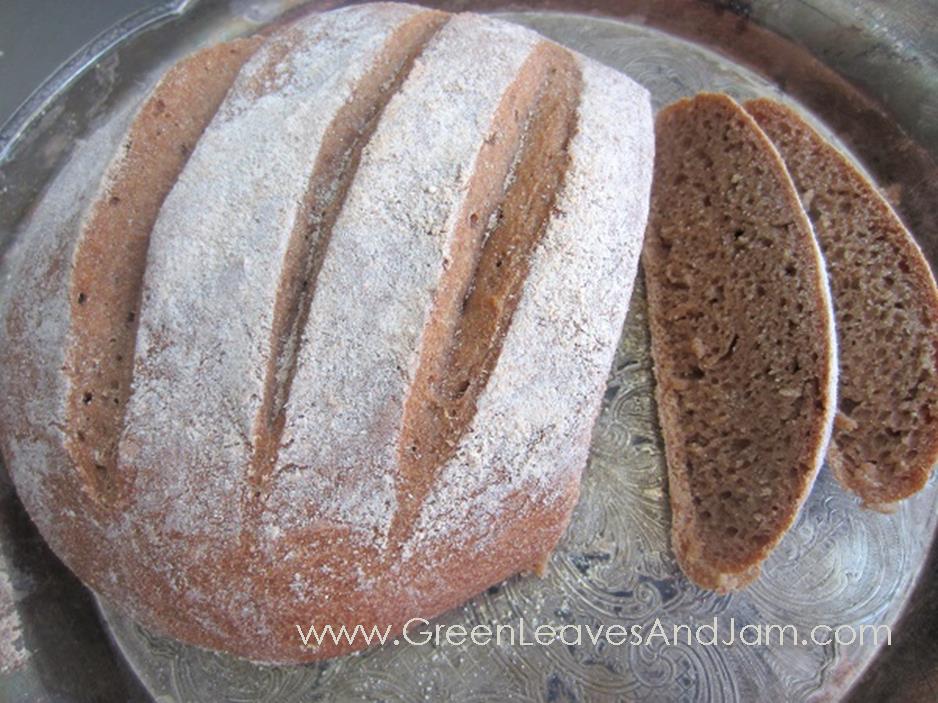
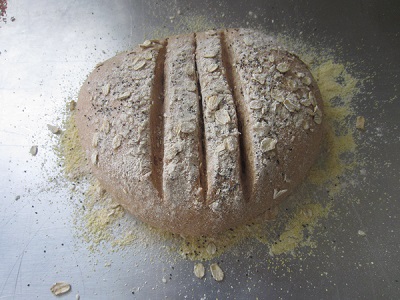
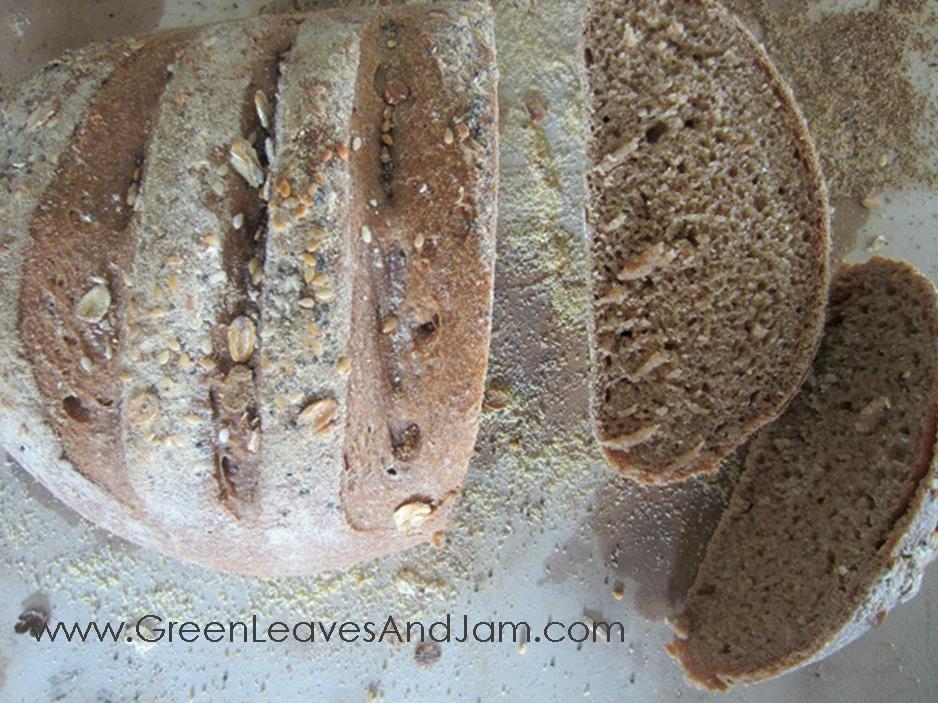
This was one of the loaves I made. I took pictures of a plain loaf of artisan bread, and one loaf that I added some poppy seeds, sesame seeds and some oats to the top, just for fun.
Ok, now for the recipe! I tried to give pretty detailed instructions for how to make it, but if you have any questions about it, let me know! Also, don’t forget to use the pictures for references when you make it.
- 3½ cups warm water
- 1½ tbsp yeast
- 1½ tbsp sea salt
- ¼ cup vital wheat gluten
- 6½ cups whole wheat flour
- Get out your electric mixing bowl and pour your warm water, yeast and sea salt into your mixer and set it to stir for about 20 seconds. Let that sit for a minute or two.
- Add to your mixer the vital wheat gluten and all of the wheat flour and mix it again until you have a smooth dough.
- Cover your bowl and let the dough sit for 2 hours. Your dough should double in size over this time. If you aren't planning to bake some of the dough right away you can place it straight into your fridge instead of leaving it out to rise.
- Once the 2 hours are up, spread cornmeal on top of either a pizza peel, or if you don't have one like me, just use a cookie sheet that has no side edges.
- Flour the dough where you want to cut the dough to remove ⅓ of the dough for your first loaf. Flour your hands as well, but try not to use any more flour than is necessary to remove the amount you need because you want it to stay as moist as possible.
- Shape the dough into the circular loaf shape by rolling the dough under with your fingers. Keep rolling it until the dough is even and smooth-ish on the top.
- Place your molded dough on top of the corn-meal dusted pizza peel or cookie sheet. Let that rise for 40 minutes.
- minutes before it is time to cook the dough place a cooking stone into the oven along with a broiler pan (or a cookie sheet with rounded edges works too!) below the cooking stone. Heat your oven to 450 degrees.
- After getting your pans started on the heating process, dust the top of your artisan bread dough with flour. Take a bread knife and dust it with flour as well and then cut ¼-1/2 inch slits into the dough. Continue to let the dough rise.
- Once the bread has risen and the cooking stone is heated, fill a cup with 1 cup of water and bring it over to your oven. Take your pizza peel (or cookie sheet) and shake the risen artisan bread dough onto the heated stone in the oven. Then add the 1 cup of water to the rimmed cookie sheet that is below the baking stone.
- Close the oven and let the bread bake for 25 minutes.
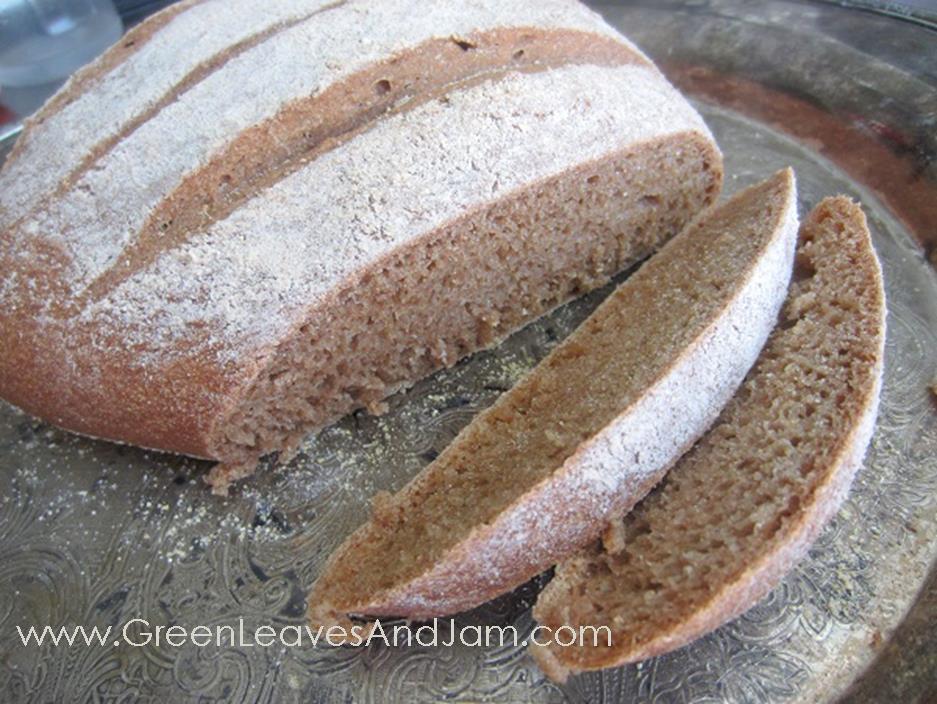
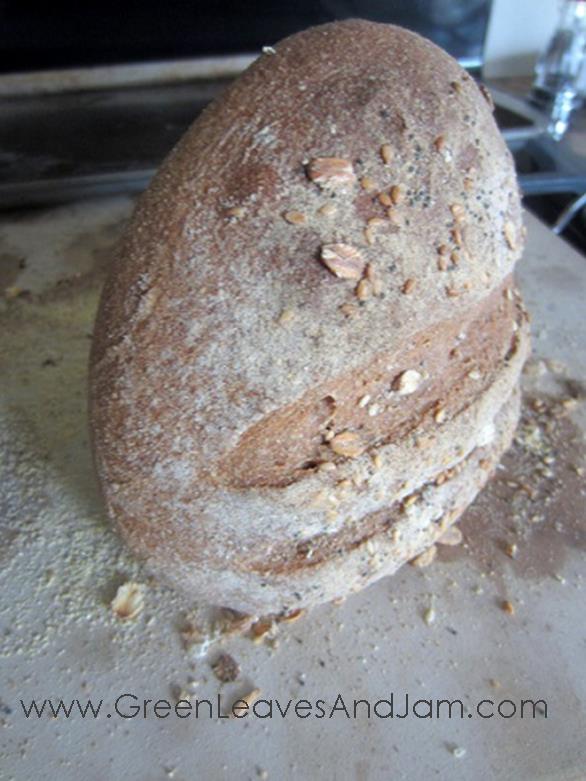
- To store the bread, leave the bead out on a cutting board by turning the bread onto it's side with the cut-side down. Trust me, the crust will stay crunchy and the insides will stay moist.
Here is a picture of how you are supposed to store the bread… just in case there was any confusion..

Enjoy! We don’t put any butter or anything on it because I believe it’s tasty enough without having to add the fats on!
A friend of mine showed me how they like to turn their artisan bread into a dessert by spreading some Nutella onto it.
How do you like to eat your whole wheat artisan bread?
Kristin
Mary Braden says:
I like mine with a layer of refried black beans, a layer of mashed avocado, and a layer of fresh raw salsa. Yum!
julie cluff says:
Great idea, Mary! Like an open-face taco.