What you waitin' for?

What you waitin' for?

Create your slideshow now!

A Super Lightweight Slider

A Super Lightweight Slider

100% WordPress and Bootstrap

Visualize Your Ideas.

Visualize Your Ideas.

And customize everything.

Green Leaves and Jam, a Plant-Based Diet

Supporting you and your plant-based diet

Easy Whole Wheat Drop Biscuits

Whole Wheat Drop Biscuits

I grew up having Betty Crocker’s baking powder biscuits. They were always the perfect side for different meals and super easy to make. I have finally adapted them to make them plant-based and whole wheat and I’m super excited to share this recipe with you.

Whole Wheat Drop Biscuits

I made these just the other day with a yummy soup. They also taste great as a side to pastas. You can eat them plain, with some butter, or some jam. One of our favorite ways to have these biscuits is with some homemade gravy on top. The options are limitless!

Better Than Bisquick Drop Biscuits
 
Print
Prep time
5 mins
Cook time
10 mins
Total time
15 mins
 
Author: greenleavesandjam.com
Serves: 10-12 biscuits
Ingredients
  • 1¾ cups wheat flour
  • 2½ tsp baking powder
  • ¾ tsp sea salt
  • ⅓ cup (approx. 5½ tbsp) vegan butter, or coconut oil, melted and cooled
  • ¾ cup + 2 tbsp non-dairy milk, unsweetened
Directions
  1. Preheat oven to 450 degrees.
  2. In a medium bowl, stir together the flour, baking powder and sea salt.
  3. Add in your vegan butter and the non-dairy milk and stir until well combined.
  4. Spoon the mixture onto a greased baking pan and bake in the oven at 450 degrees for 10-12 minutes or until golden brown.
3.2.1682

Whole Wheat Drop Biscuits 
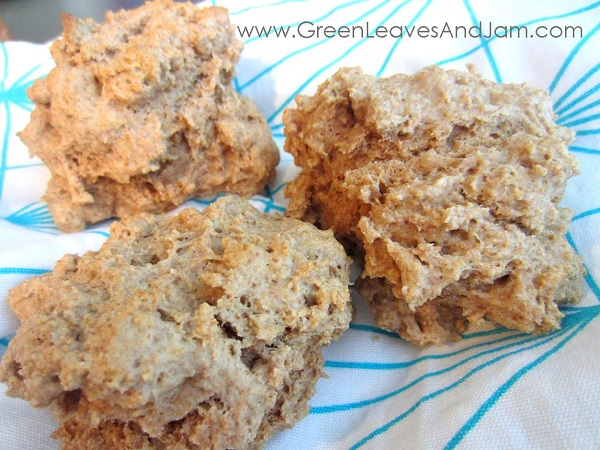
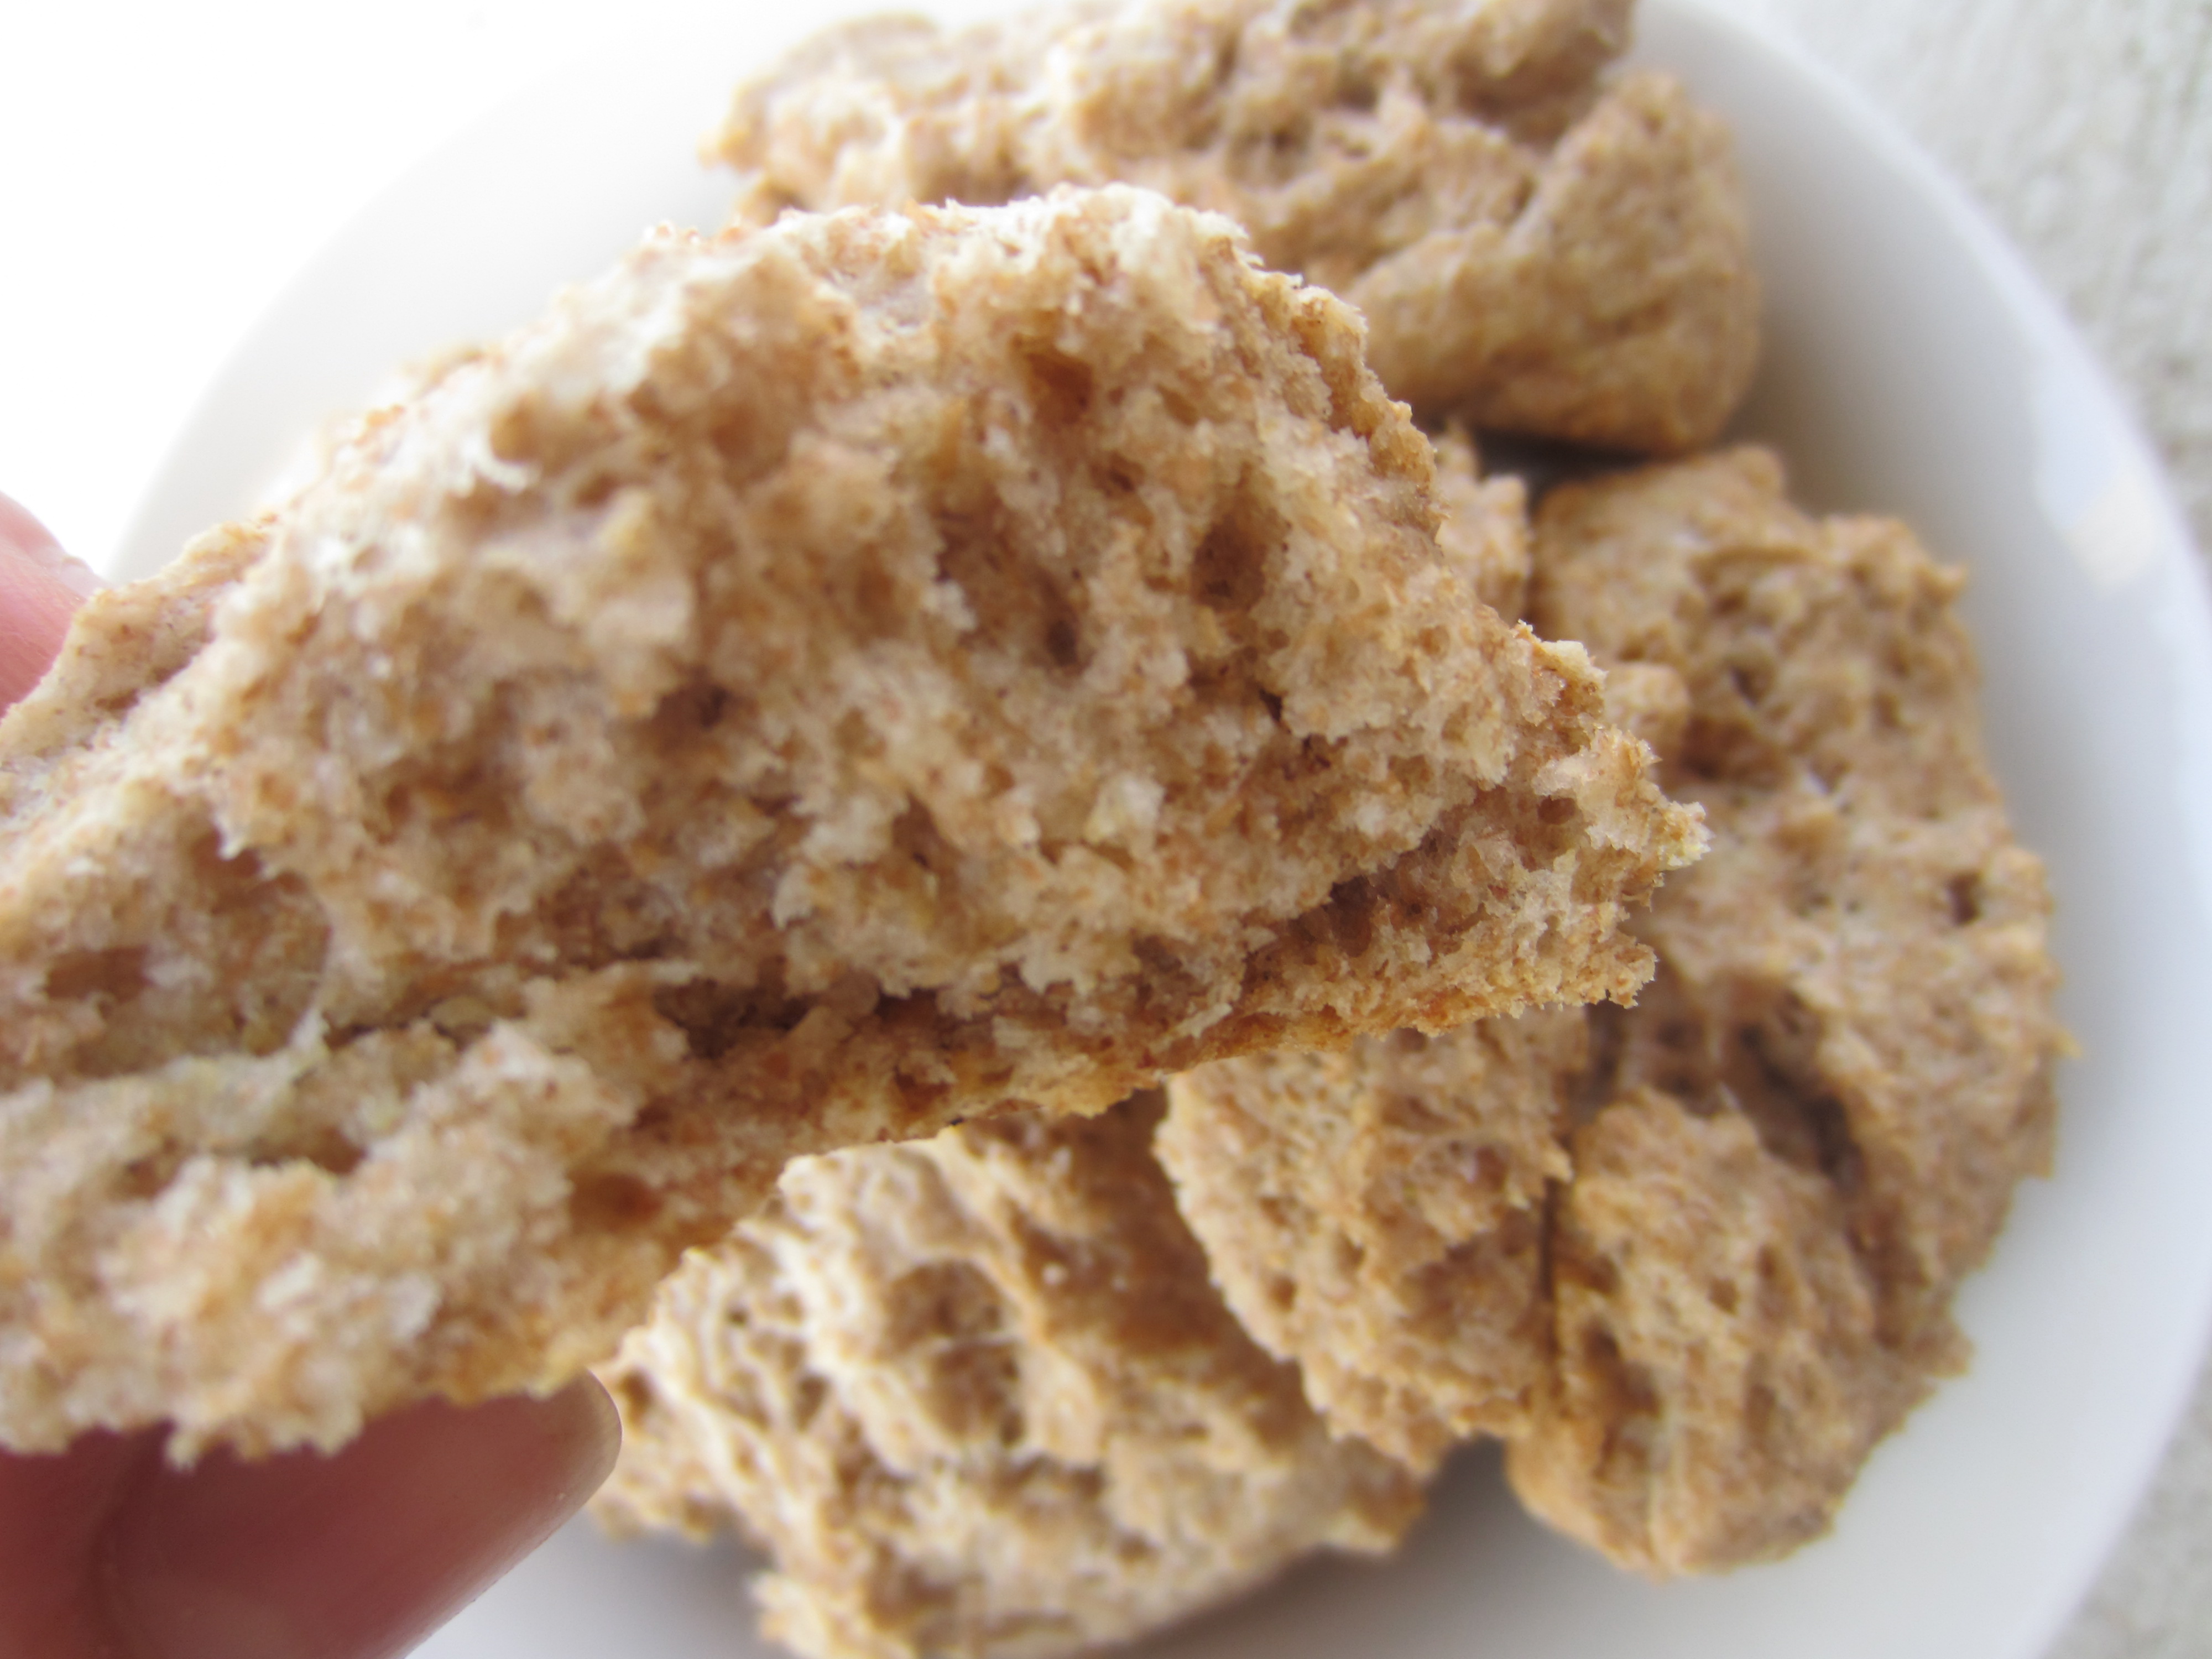
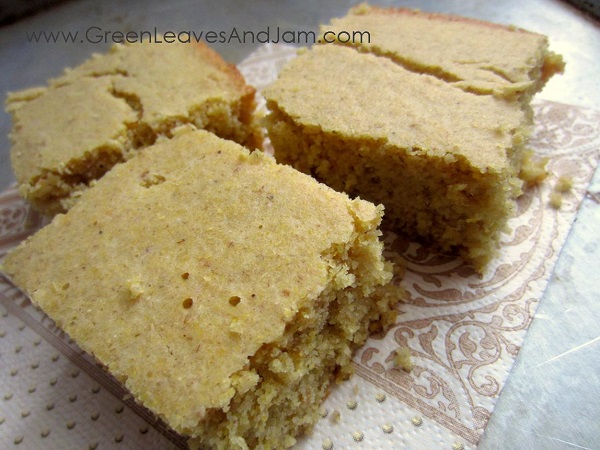
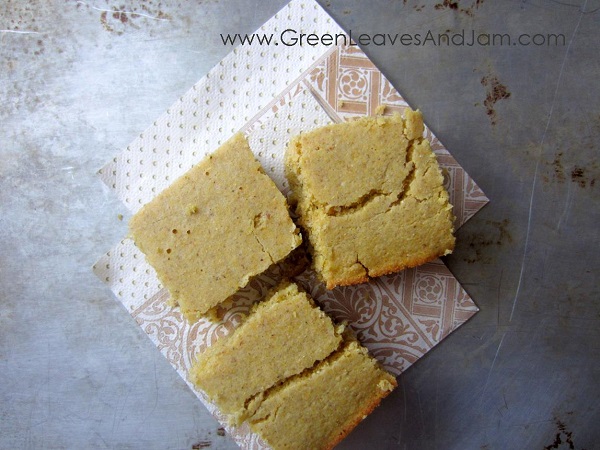
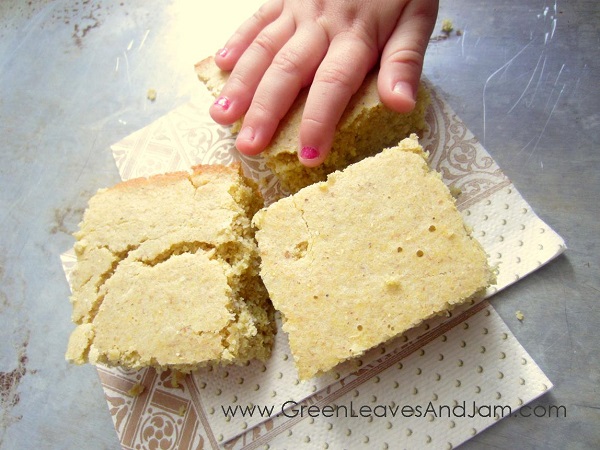
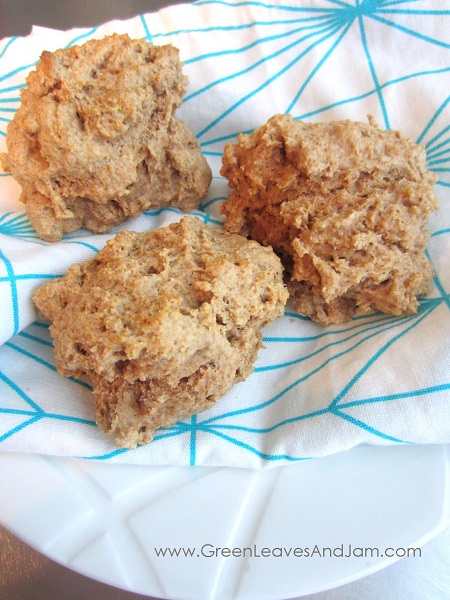
Hope you enjoy these whole wheat drop biscuits.

Kristin

Posted in Bread, Recipes, Sides Tagged bread, plant based, side dish, vegan recipes Leave a comment

Yogurt Cornbread (Vegan / Plant-based)

Yogurt Cornbread (Vegan / Plant-based)

Mmm, cornbread. Does anything else need to be said? There is something so lovely about fresh, warm cornbread. I LOVE cornbread as a side especially for pastas and soups! One of our staples is black bean soup with cornbread. It just completes any meal. I have had pretty dry cornbread a few times and my life, but I really love this one because it’s actually moist!

Yogurt Cornbread (Vegan / Plant-based)

Yogurt Cornbread (Vegan / Plant-based)
 
Print
Prep time
7 mins
Cook time
22 mins
Total time
29 mins
 
Author: greenleavesandjam.com
Ingredients
  • 1 cup oat flour*
  • ⅔ cup corn meal
  • 3 tbsp sugar
  • ½ tsp salt
  • 1½ tsp baking powder
  • ¼ tsp baking soda
  • 2 tbsp flax meal
  • ¼ cup olive oil
  • ½ cup plain non-dairy yogurt
  • ½ cup milk
  • 3 tbsp water
Directions
  1. Preheat oven to 425 degrees.
  2. In a bowl mix together the dry ingredients. Once that is well combined, add in the wet ingredients and stir.
  3. Spray an 8X8 baking dish with cooking spray and pour the cornbread mixture into the dish. Bake the cornbread at 425 degrees for 22 minutes or until the outsides are lightly browned.
  4. *For the oat flour, I blended some oats in my blender until it was in a powder/flour form. I haven't tried this recipe with wheat flour, but I bet that would also work as well. I also think rice flour would work.
3.2.1682

This next picture is one of my favorites. My daughter stuck her hand in the shot (she was too anxious and didn’t want to wait any longer for some cornbread!) at the last second. I love that sweet little hand! p.s. no we did not purposely paint her nails that way, she chewed off her nail polish.lol

Yogurt Cornbread (Vegan / Plant-based)

So sweet. Well Hope you enjoy this yogurt cornbread!

Kristin

Posted in Bread, Recipes, Sides Tagged bread, plant based, side dish, vegan recipes Leave a comment

Crispy Corn Tortilla, Quinoa And Refried Bean Tacos


Crispy Corn Tortilla Quinoa and Refried Bean Tacos

I posted a few months back our favorite Quinoa Taco recipe, but I wanted to share with you another way to eat them. We LOVE tacos! Especially these tacos! I think we have had them at least 4 times in the last month and a half. They’re just so easy and extremely tasty. I have also been craving tacos like crazy with this pregnancy.  As a little side note, I usually prepare my quinoa taco meat either earlier in the day, or sometimes I have some left-over from a salad that I used it for. This helps to save me time later when I am rushed to get dinner on the table.

Here are a few pictures to walk you through the steps for achieving the Crispy Corn Tortilla Quinoa and Bean Tacos.

First you take your corn tortilla and spread some refried beans and the Quinoa Taco Meat on the tortilla.

Crispy Corn Tortilla Quinoa and Refried Bean Tacos

Spray your pan with olive oil cooking spray. If you would like to just pour olive oil into the pan beforehand you can, but I found that I use less when I use the spray versus pouring it in the pan. Heat your pan to medium-high heat. Fold your tacos in half and place them on your heated pan. Cook until crisp and lightly browned on the back side.

Crispy Corn Tortilla Quinoa and Refried Bean Tacos

Spray the top of your tacos and then using tongs, carefully turn your tacos over. Try to not let quinoa fall out of your tacos because I have found that it pops everywhere when it hits the hot pan. Cook that side until lightly browned as well.

Crispy Corn Tortilla Quinoa and Refried Bean Tacos

Remove from the pan, add your toppings and eat! Some of our favorite toppings are:

  • Romaine Lettuce
  • Onions
  • Tomatoes
  • Taco Bell Taco Sauce (I buy it at Walmart)
  • Non-dairy Plain Yogurt
  • Guacamole   Crispy Corn Tortilla Quinoa and Refried Bean Tacos

Crispy Corn Tortilla, Quinoa And Bean Tacos
 
Print
Author: greenleavesandjam.com
Ingredients
  • 1 batch of quinoa taco "meat" (directions for this are in the instructions section)
  • corn tortillas
  • 1 can refried beans
  • your favorite taco toppings
Directions
  1. Make a batch of quinoa taco meat (1 cup of dry quinoa) by preparing your quinoa according to the instructions on the label, but adding in 1 packet of taco seasoning before you begin simmering it)
  2. Take your corn tortilla and spread some refried beans and the quinoa taco meat on the tortilla.
  3. Spray your pan with olive oil cooking spray. If you would like to just pour olive oil into the pan beforehand you can, but I found that I use less oil when I use the spray. Heat your pan to medium-high heat. Fold your tacos in half and place them on your heated pan. Cook until crisp and lightly browned on the back side.
  4. Spray the top of your tacos and then using tongs carefully turn your tacos over. Try to not let quinoa fall out of your tacos because I have found that it pops everywhere when it hits the hot pan. Cook that side until lightly browned as well.
  5. Remove from the pan, add your toppings and eat!
  6. Some of our favorite toppings are: Romaine Lettuce, Onions, Tomatoes, Taco Bell Taco Sauce (I buy it at Walmart), Non-dairy Plain Yogurt, Guacamole
3.2.1682

Crispy Corn Tortilla Quinoa and Refried Bean Tacos

I hope you are enjoying your last little bit of summer!

Kristin

Posted in Dinner, Recipes Tagged beans, main dish, plant based, vegan recipes Leave a comment

Coconut Oil, The Perfect (And Natural) Hair Product

Coconut Oil, The Perfect (And Natural) Hair Product

The one on the left is organic, cold pressed and we got it at Costco. It smells strongly of coconut and also is more natural. The one on the right is from Walmart (only about $6 dollars) it is refined and not organic, so it isn’t as natural, but it doesn’t have a scent and will work just as well for your hair. There are other varieties out there, but I choose to use the one on the left for the smell and also because we have an extremely large jar of it that we don’t personally like the flavor of in our food.

I love coconut oil. I use it pretty much daily for a hair product. Not only does it tame my frizzy hair, but it also smells wonderful (if you get the organic kinds, that is). I use it instead of conditioner and as a smoothing “serum” after I straighten it, curl it, or even when I just let it go curly.

Coconut Oil as a Hair Product

I can’t even remember the last time that I used conditioner. I basically just shampoo my hair as normal, and then use a little bit of coconut oil for my conditioner. I place a little in my hands, rub it together and then I smooth it into my hair starting at the ends and making my way up to the roots. It took me a few showerings before I was able to figure out exactly how much coconut oil I needed, but don’t give up! It’s totally worth it. My hair has never been so smooth and stood up to humidity as well as it does now. I grew up in Houston, and I kid you not, it is one of the most humid places on earth at times. I remember back in high school I would wake up at obscene hours just to straighten Coconut Oil as a Hair Product or curl my hair, just to have it flatten and/or completely frizz up on my walk from my car to my first class. In 10 minutes the humidity would destroy what I had worked sometimes 2 hours to create! I knew to keep a hairband on me at all times because my hair usually wouldn’t last very long I would probably need to pull back the frizzy mess that I had worked so hard to tame that morning. Thinking about it now, I really wish I had known about coconut oil

No, coconut oil is not the cure-all, BUT! whenever we go back to Houston to visit my hair usually survives, and quite well I might add. I think that my poor hair was probably just starving for moisture back then and would absorb any moisture that it could, i.e. the humidity. We currently live in Austin and even on the most humid of days here my hair usually does just fine. It blows my mind when I think about what a struggle I had in high school.

Coconut Oil as a Hair Product

Another great pro that I have noticed since I’ve been using coconut oil for my conditioner and for a smoothing “serum” is that my hair doesn’t get oily as fast as it used to. I’m not sure why this would be. Maybe it’s because my hair has enough oils and moisture in it that it just feels it doesn’t need to produce as much anymore. This may seem gross to you, but I can often go 1- 1 1/2 weeks without washing my hair and it still looks good by the end. I usually just get to the point that I just feel that it needs to be washed and that’s why I end up washing it, not even because it looks like it needs it. Before using the coconut oil in my hair, I would usually go this long between hair washings, but I often used baby powder to cover up the oily look and make my hair stretch a couple days longer, but I honestly can’t remember the last time I even needed to put baby powder in my hair. I just realized this the other day and that blew my mind! My husband loves that I don’t have to use the baby powder now too because he hates the smell of the baby powder. Coconut is much a more pleasant smell. Coconut oil for hair product

Coconut Oil as a Hair Product

I use coconut oil in my daughter’s hair as well. She has little ringlets and it helps to tame them. If I ever forget to put a little coconut oil in her hair, her hair becomes a super big frizz ball. It also works great as the de-tangler in her hair. After her bath I usually put a little in her hair, again starting at the ends and working my way up to the roots. Then using a comb, I brush out her hair and usually mess it up a little with my fingers to give her curls a little bounce, and voila, her hair is ready to go! I have been asked by multiple moms of little girls what I put in my daughter’s hair.

I also wanted to let you know that yes, I have tried using baking soda mixed with water for my shampoo, but decided that it wasn’t for me. I found that the first day after washing my hair it was a weird texture that I hated doing anything with. My hair also smelled funky. It never really smelled clean, and I hated that. So that’s my few thoughts about using baking soda for shampoo.

Good luck with your coconut oil adventures. Hope it’s as good to you as it has been to me!

Kristin

Posted in Plant-based Life and Parenting, Uncategorized Tagged Hair Products, plant-based life and parenting Leave a comment

Stuffed Shells (Vegan / Plant-based)

Vegan Stuffed Shells

Sometimes I find it fun to go back and look at my old recipes from before we were vegan/plant based and see just how unhealthy we ate. I know that everyone has their own reasons for why they have chosen a plant-based or vegan diet, but my personal reasons are for the health benefits. The more I learn, the stronger I feel about my thoughts on eating less dairy and meat products. Like I mentioned in my “About Me” section, my husband and I have decided to eat a plant-based diet within our home, but then once, and occasionally twice a week, we go out to eat and we eat anything off the menu that we choose, no guilt. We have found this to be sustainable for us and has made our transition to this lifestyle quite easy on us.

I have tried a few times giving up dairy and meat completely, but haven’t quite made the jump just yet.

I recently got my hands on a copy of Neal Barnard’s book “21-Day Weight Loss Kickstart: Boost Metabolism, Lower Cholesterol, and Dramatically Improve Your Health,” and I am loving it. I even texted my mom and asked her if she wanted to do a little challenge with me. We are currently on day 2 of this challenge, and so far, it’s going well! (Unfortunately, my husband and I’s 3rd anniversary will fall right in the middle of this challenge, so please don’t judge me too much when I splurge for that!:)) He basically just outlines a very healthy plant-based/vegan diet and tells you the health benefits behind it. He also lets you know that you don’t have to give up everything that you like, but that there are substitutes out there for you if you are having a hard time with the idea of giving up things like meat, and even cheese. Breads aren’t off limits, but he does suggest limiting your intake of white bread and even wheat bread because of the high glycemic index that they have. There are lots of other fun little pieces of information that he goes over in the book. If you are interested in a plant-based diet but don’t really know where to start, this is a fun book filled with great ideas and recipes to help you get started.

IMG_7590

Anyway! Back to our Vegan Stuffed Shells recipe! What can I say about this?! It’s sooo tasty! It has a texture that is similar to a cheese version of this, and even a flavor that is similar. We love these stuffed shells so much and my husband even said that I need to make a lasagna recipe using this filling. What a great idea! Hopefully I can make that recipe sometime soon for all of you!

Vegan Stuffed Shells

Stuffed Shells (Vegan/Plant-based)
 
Print
Prep time
30 mins
Cook time
25 mins
Total time
55 mins
 
Author: greenleavesandjam.com
Serves: 6
Ingredients
  • 1½ cups cashews, soaked for 3 hours
  • 1 box of jumbo shells
  • 1 large onion, chopped
  • 4 cloves of garlic, minced
  • 1½ tbsp lemon juice
  • ¼ cup nutritional yeast
  • 1 tbsp dried parsley
  • ½ heaping tsp crushed red pepper (optional)
  • 1½ tsp sea salt
  • jar of your favorite marinara sauce
  • ½ cup panko breadcrumbs
  • 2 tsp olive oil
Directions
  1. hours prior to making, place your cashews in a bowl with water to let them soak. If you forget to do this step, you could just boil the cashews in some water for about 5-7 minutes. You want them to be soft, but not mushy.
  2. In a large pot, cook the jumbo shells according to the instructions on the box.
  3. Chop the onion and saute over high heat for 5 minutes. Add in the minced garlic and continue to cook for another 2 minutes.
  4. Strain your cashews and add them to a food processor along with the sauteed onions, garlic, the lemon juice, nutritional yeast, parsley, crushed red pepper and sea salt. Pulse until mixed well, but make sure to leave the cashews at a slightly chunky texture (this will be more like the texture of non-vegan stuffed shells). See the above pictures if you need a reference on how much to blend it up.
  5. Using your favorite marinara sauce, pour about ⅓ of the jar on the bottom of a 9X13 pan. Stuff the cooked shells with the filling and line the pan with the stuffed shells.
  6. Pour the remaining marinara sauce over your stuffed shells.
  7. In a separate bowl, mix the bread crumbs and olive oil together. Sprinkle over the top of the stuffed shells.
  8. Cook in your oven for 25-30 minutes at 350 degrees.
3.2.1682

Vegan Stuffed Shells

Bon Appetit!

Kristin

Posted in Dinner, Recipes Leave a comment

5 Vegan Options for Feeding Company

Bean soft tacos

beans and rice with toppings

potato bar

chili

soup & sandwiches

Posted in Uncategorized Leave a comment

Healthy Strawberry and Banana Ice Cream – 4 different ways!

Chocolate Dipped Strawberry and Banana Ice Cream Sandwiches

I love summer! I grew up in Florida and Texas and because of this I have developed a love for warmer weather. I didn’t realize how much of a love I have for warm weather until I went out to college (In Idaho, and then in Utah) where the weather sometimes(often times in Idaho’s case)  would get below zero degrees! I remember my first semester of college just loving all the snow, but that wore off pretty quickly. I can imagine that if I liked to do winter sports, such as skiing or snowboarding, I might like the snow more. However, seeing as how I could hardly even WALK on the snow, there was no way I was about to stand upon a slippery board and place myself on top of even the smallest hill. As you can guess, I’ve never gone skiing or snowboarding.

Back to talking about summer. Although yes, it’s really hot, I love taking my daughter to the pool and eating frozen treats.

Strawberry and Banana Ice Cream

When I made this recipe I made a really large batch of the ice cream because I knew that my daughter would really appreciate it in ice cream form, sherbet form, popsicle form, and then the decadent version – chocolate dipped strawberry and banana ice cream sandwiches. I highly suggest you try all 4 versions!:)

Chocolate Dipped Strawberry and Banana Ice Cream Sandwiches

The chocolate dipped strawberry and banana ice cream bars are so tasty! I really enjoy them. I like is that they’re a much healthier version of a regular ice cream bar. I also liked that this dessert didn’t feel heavy, but yet I was really satisfied with just eating one of them.

Here is how to get all 4 versions:

Ingredients:

When I made it I used 6 frozen bananas, and 6 medium-large frozen strawberries and 1 tsp vanilla (if you would like it to be a little sweeter you can also add in 2-3 tbsp agave). I placed it all in my food processor and blended it until it was smooth.

Instructions:

1. Strawberry and Banana Ice Cream:  Eat it immediately after blending and it will be creamy and soft-serve-like in texture.

2. Strawberry and Banana Sherbert: Once you’ve blended the bananas, strawberries, vanilla and agave in the food processor, place it in your freezer for couple of hours or until it is firm like sherbet.  It is now ready to eat. (It will stay in the sherbet texture once it frozen again).

3. Strawberry and Banana Popsicles:

  • Blend the bananas, strawberries, vanilla and agave if you wish to add it, in your food processor until smooth.
  • Take the ice cream mixture and pour into Popsicle molds. Place them in your freezer and let them freeze for a couple of hours. When they are fully frozen, they are ready to eat!

4. Chocolate Dipped Strawberry and Banana Ice Cream Sandwiches (Makes 6-8 Sandwiches):

  • First, make your strawberry and banana ice cream in your food processor according to the instructions above (If you are only wanting to make the sandwiches I would probably just use 3 frozen bananas, 3 medium-large frozen strawberries and 1/2 tsp vanilla so you don’t have a ton of leftover ice cream/sherbet). Place the mixture into the freezer and allow to firm up a bit.
  • Make 1 batch of Chocolate Covered Katie’s Secretly Healthy Graham Crackers, let them cool and then place them into your freezer for a bit so they will be cold and not melt your ice cream.
  • After about 10 minutes of letting the graham crackers sit in the fridge, pull them out and assemble your sandwiches. Hold one graham cracker in hand and spoon some ice cream into the center of your cracker. Make sure you get it thick enough, no one wants an ice cream sandwich that is mostly cracker after all! Place your 2nd graham cracker on top and fix any spots that need to be smoothed out.
  •   Place them back in your freezer while you make the chocolate for dipping.  In a small, microwavable bowl melt 1/2 cup chocolate chips and 2 tsp coconut oil  and stir together. Remove your ice cream sandwiches from the freezer and drizzle/spoon the chocolate onto the sandwiches. Place them back in the freezer on a tray for about 10 minutes and then you can remove them and they can be stored in a freezer Ziploc baggy until you are ready to eat them!
  • *In case you are wondering, yes, the graham crackers stayed crunchy even after being frozen and such.

The sandwiches were inspired by http://www.lecremedelacrumb.com’s chocolate dipped strawberry (greek yogurt) ice cream sandwiches.


Chocolate Dipped Strawberry and Banana Ice Cream Sandwiches

Please come back and let us know what you thought about them!

Kristin

Posted in Healthy Desserts, Recipes Tagged Healthy Desserts, plant based, vegan recipes Leave a comment

How to Get Rid of Fruit Flies

how to get rid of fruit flies

If you eat a lot of fruit and keep fresh fruit out you’ve probably experienced a fruit fly infestation at least once.  They’re amazingly social creatures it appears.  If you see one you can bet they are going to invite their entire social circle by the end of the day.

In July, we went on vacation for two weeks.  Normally we spend some time battening down the house before we leave: cleaning up, adjusting the thermostat, taking out the trash, doing dishes, etc.  Last month we had family visit the day we were flying out.  We were excited to see our niece, her husband and their kids as we hadn’t seen them for a few years.  We enjoyed our visit very much but unfortunately our house preparation routine was shortened and we missed a couple of things, including emptying the kitchen trash!  Yikes!

When we got back to the house two weeks later we walked into a kitchen full of fruit flies!  As I’m sure you know they are not the easiest to get rid of.  They stick around like non-rent-paying relatives!  They know a good thing with they see it – free food and ac!

Normally, I just eliminate the food source and they eventually go on their merry way (or die.)  But I couldn’t be that patient this time as we are selling our house.  The house is under contract so we weren’t actively showing it, but still I wanted to make sure that it was presentable at any given moment.

Ron (the hubby) and I did a little research and started experimenting with fly-elimination procedures and here is what finally succeeded.  We filled a cereal bowl with apple cider vinegar and put it in a gallon size ziplock bag with holes punched in the top.  The fruit flies were attracted to the vinegar so they came through the holes but couldn’t get back out and eventually we had a pile of unsightly dead fruit flies in the bottom of the bag surrounding the bowl.  We liked them much better comatose in the plastic bag than we did having them flying around the kitchen!  (And no, I didn’t take a picture.  Too gross to share!)

Have you found a favorite method for getting rid of fruit flies that visit your home?

Enjoy!  Julie

Related Posts Plugin for WordPress, Blogger...
Posted in How to's Tagged how to 1 Comment
  • « Older Entries
  • 1
  • 2
  • 3
  • …
  • 17
  • Newer Entries »

WordPress Theme Custom Community 2 developed by Macho Themes