Before I get into the post about this amazing yogurt, I wanted to announce that I recently started a small business with a friend where we are selling modern and trendy baby bibs. Here’s our first set for sale on Amazon!


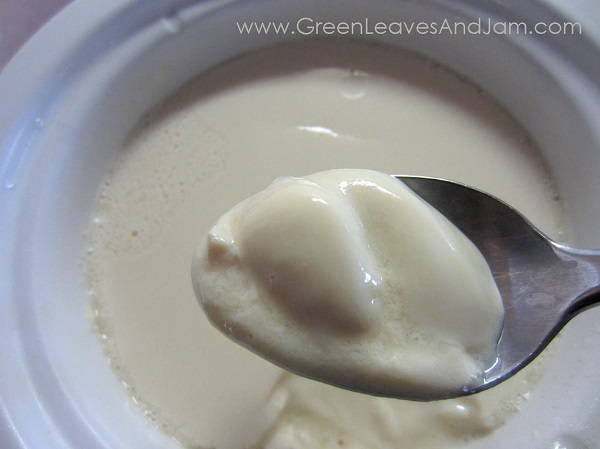
About a month ago I had decided that I really wanted to buy a yogurt maker. I contacted someone about buying theirs off of Craigslist for only $15. That day I happened to discover this awesome recipe from vegcharlottenc.com for making homemade yogurt with something that I already had, a crock pot. I have seen multiple recipes for making yogurt in the crock pot, but they always had lots of steps and most involved a candy thermometer (another thing I didn’t have). The nice thing about this recipe was that although it requires a fair amount of time, it doesn’t have hardly any hands-on steps. We received a 2 quart crock pot for our wedding and I haven’t used it, not even once. I almost threw it away multiple times, but now I’m super happy I didn’t.
Below is a picture of the 2 quart crock pot that I use. I did a little research and found that they are the cheapest at Target and Walmart. Amazon.com has them for about $5 more than both Target and Walmart.

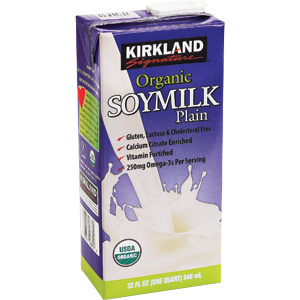
I made all 3 different types of yogurt with Kirkland Signature organic, plain, soy milk as pictured below. This works out great for me because the milk is supposed to be at room temperature when you start making the yogurt, and since this is usually stored on our pantry shelf until I need a new container, it’s all ready for me every time I want to make it.
I have now tested this recipe out a few times with different yogurt “starters”. I say “starters” because you only need a small single serving size container of yogurt that you can buy from the store. I first tried out a low-fat dairy based yogurt with soy milk because I knew that I wanted to test the recipe before I had to go buy that yogurt maker and I knew that my neighbor would have some dairy yogurt on hand. Here are the results:
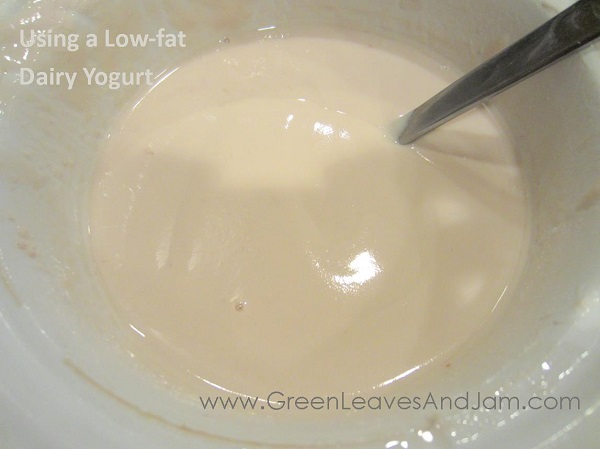
P.s. it is normal to have some separation of the yogurt when you are done(Just a little though, if it’s half yogurt, half liquid..something went wrong so you’ll need to start over). This is a picture of the yogurt AFTER I poured out the separated, tinted liquid that had gathered on top.
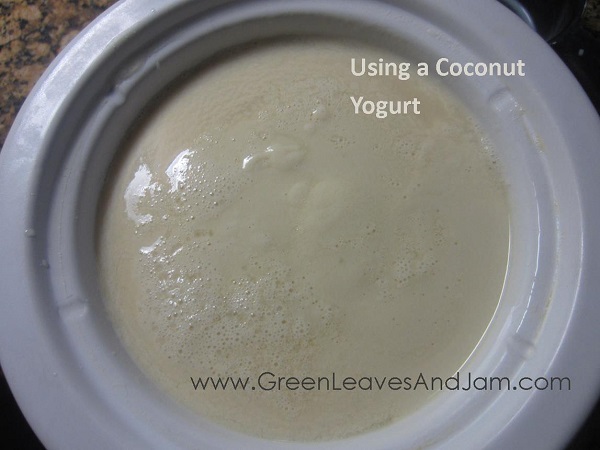
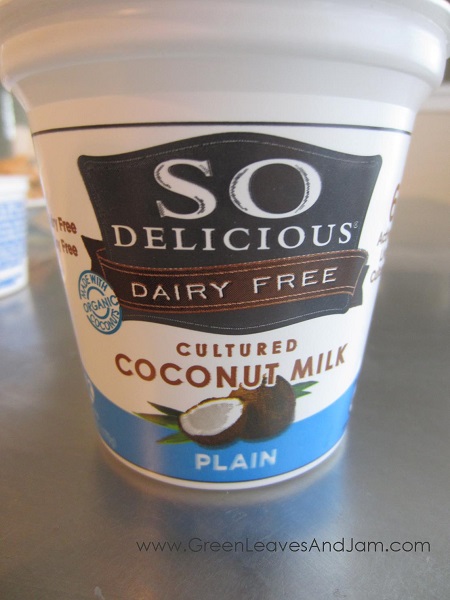
It turned out so great! It was creamy and slightly sour just like normal plain yogurt! Now that I knew the recipe worked, I knew I wanted to make a non-dairy version. I tried out 2 different types of yogurt. I tried the recipe with coconut yogurt and with soy yogurt. Soy yogurt was the clear winner for me. I felt that the coconut yogurt had a funky taste for yogurt. It also didn’t firm up hardly at all. It was pretty soupy. We still used it in our smoothies and such, but it was much to liquidy, I felt, for recipes or to eat plain. Here is the picture I took of the Coconut based yogurt as well as a picture of the exact yogurt that I used to start it:
Like I mentioned above, the clear winner for me was the soy-based yogurt. It has turned out great the last 2 times that I have made it. Here are the pictures of the finished yogurt and the yogurt “starter” that I used:
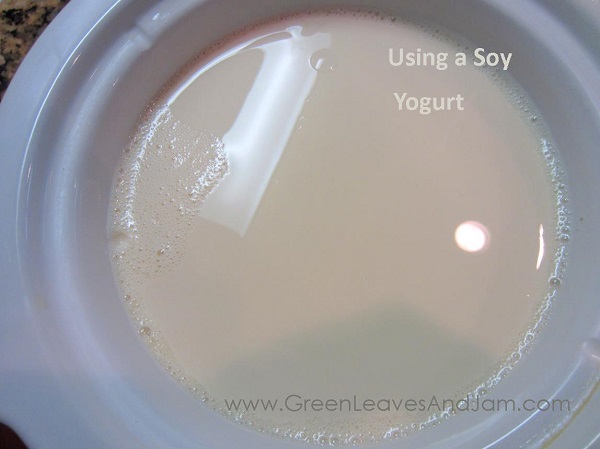
It was almost jello-like when I shook it a little to see if it had worked.:)
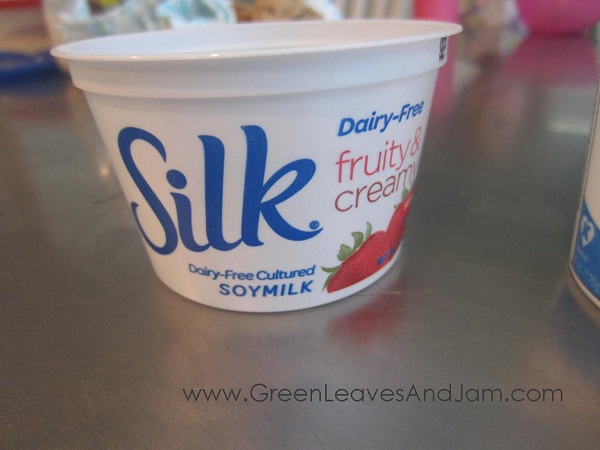
This is definitely something I plan to continue to make for a long time. I love using it in our smoothies in the morning, in recipes, substituting it for sour cream, and oils.

This is also the Soy “starter” and soy milk yogurt.
Side Note about the thickness: When I was researching yogurt I read somewhere that homemade yogurt will be thinner than store-bought yogurt because companies usually add in extra things to thicken it up because us Americans are used to having a thicker yogurt. Here are some options that I saw for making it thicker if you’d like to. I saw that some people liked to add in some dry milk to thicken it up. Some said they used cornstarch before cooking it, some said they just strained out some of the liquid by straining the yogurt into a cheese cloth. A lot of people said that the cheese-cloth method resulted in more of a Greek yogurt kind of consistency. So it’s up to you. I don’t mind mine at the thinner consistency.
When buying your yogurt “starter” make sure to look at the label. The label needs to say somewhere on it that it has live and active cultures in it. Sometimes it will say it in the ingredients section, and sometimes they will say right on the front of the container.
My favorite time to make this is usually in the evening. I start it around dinner time and go through the heating steps and then just let it sit in the oven for 9ish hours while I sleep.
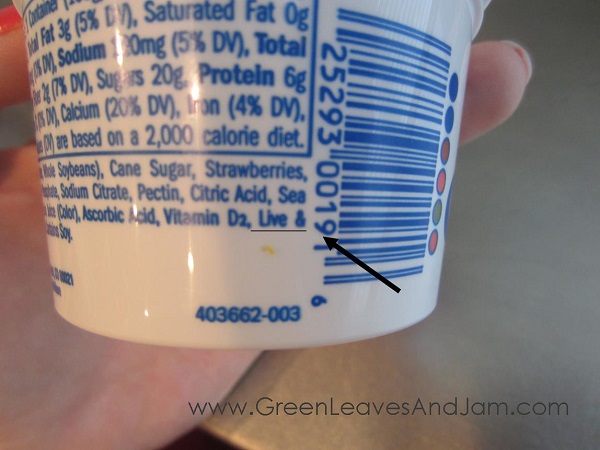
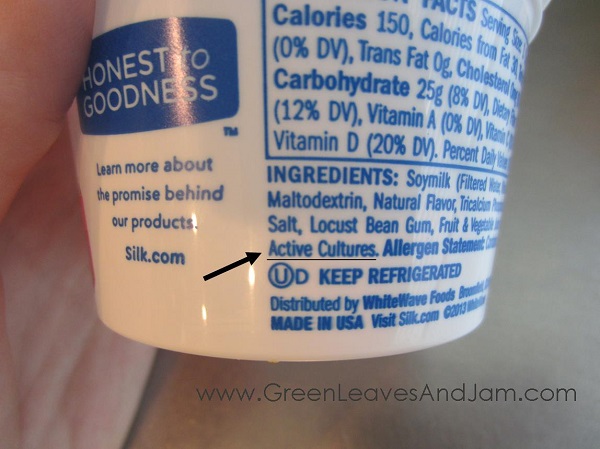
And finally, the actual instructions for how I made my yogurt:
The Easiest Crock Pot Homade Yogurt (Vegan / Plant-Based)
Author: greenleavesandjam.com
- 4 cups plain, unsweetened non-dairy milk. (I use soy milk, people have said coconut milk does NOT work though)
- 1 single-serving size container of non-dairy yogurt (I use soy-based yogurt) OR ½ cup of yogurt from your last batch
- Place the 4 cups of non-dairy milk in your crock pot (the milk should be at room temperature before starting this). Turn the crock pot on to low and let it cook in there for 2½ hours.
- After the 2½ hours are up, turn off your crock pot and let the milk sit again for 2 more hours.
- When the 2 hours are up, remove about 1 cup of warmed milk from the crock pot and mix the yogurt "starter" with that 1 cup of milk. Once it is well mixed, add it all back into the crock pot and stir it well with a whisk.
- Remove the glass container from the crock pot base and wrap it well in a towel. Place the wrapped crock pot in your oven (which should be OFF!!!) for 8-10 hours. I have also placed my wrapped crock pot inside my larger crock pot container and placed it in a cupboard on days when I know I will need to use my oven and this works great for me as well.*
- Remove from the oven and place into your fridge until cool.
- If the yogurt separated some, remove the separated liquid and then store the yogurt in your fridge. Don't forget to save ½ cup of yogurt for your next batch.
- *The longer you let the yogurt sit in the dark oven the more sour it will become, but the thicker it becomes as well. I have found 10 hours to be the optimal time for our yogurt.
3.2.1682
Good luck creating your own homemade yogurt! Let me know if you have any questions.
Kristin


